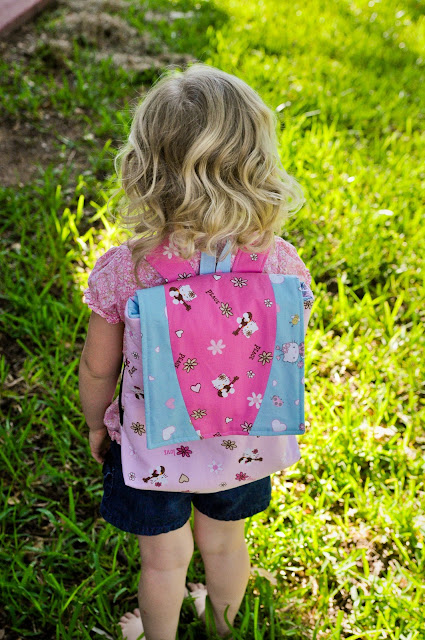
I'm really enjoying finally sewing a little again. It was a long dry spell and my fabric stash was starting to taunt me and threaten to run off!
But I'm BACK!
Project #2 was a basic little, slightly gathered, curtain for the cabinet housing our homeschool books and supplies.
Before:
Nothing that pretty about it. Plus you can see all the places hardware was removed from it. It was supposed to have a big wooden piece that folded out and down to make a table for a laptop or keyboard to sit on. But seeing because we bought it for $15 in the AS-IS section of Ikea, well, it was missing that part! I still need to fill in the holes, but that will come later because I'm having too much fun sewing to find the right stuff to fill it with. Wood filler? Who knows, I'll find out soon!
Start by adding self adhesive velcro hook to the back of the little wooden piece where the curtain will attach.
Hem and gather the fabric for the curtain, then use the cool trick I learned on
Pinterest for
GATHERING MORE EASILY. After that sew on the velcro loop to the front of the curtain, carefully making sure your gathers are somewhat even and not coming loose.
After:
Attach to the velcro hook, and VIOLA! A curtain to hide the books and random assortment of homeschool goodies!
It ended up being about 3/4" too long, but that's an easy fix that come later if I decide it has to be done. ;)
Project #3:
A clear front, crayon bag for M.
M's crayons are out of control. They are everywhere! But the solution needed to be an easy place for her to remember to put them, and just as easy for her to find them. What better than a zippered pouch with a clear plastic front? It would be easy for her to see the colours she had available to use, easy to find the pouch in her drawer (that mess is a whole other issue), and easy for her to put them away and zip it closed.
So off to Joann we went and bought a yard and a half of the thickest clear vinyl they had, which was 8 gauge, I wouldn't use anything thinner btw, I'd actually prefer to try 10 gauge next time but this is holding up well so far.
And this is what she ended up with:
I learned from a few mistakes along the way, and I used
THIS TUTORIAL on Make It and Love It for sewing with vinyl. I mixed it up a bit with a cute fabric for the back piece instead of more vinyl, as well as a cute tag from my tag stash....which I will never show to you in entirety for fear of being forced to come to terms with the fact that I have a
tag addiction love for cute little taggies! Ha ha!
Also, see the big zipper pull (is that the right name?) on there? These are handbag zippers from
KANDCSUPPLIES on Etsy. The best thing about them, is because the zipper handle (still not right?) is bigger, it means it's easier for little fingers to grab hold and pull the zipper closed without any tears or begging Mommy for help.... right as Mommy gets baby to sleep on her lap....
Me trying to show you the fabric back and the vinyl front...ignore any mistakes you happen to see ;)
It may look full (and especially so because of the horrible lighting, sorry!) but really it's only half full and so there's plenty of space for little hands to dig through to find that one perfect colour for the project at hand.
A close up of the tag...ignore the stitching, I didn't stick tape to the throat plate of my machine as it suggested in the tutorial (few steps above) and you can definitely tell where the vinyl was sticking as I was sewing *whoops*!
Anyhoo, off to cross these off my list and figure out what's next!
Oh and don't forget to check out my friend Katie's blog where she takes the Handmade 52 to a whole new level! She has link ups where you can link what you've made for all to see, and all sorts of awesome things that she herself creates! Go check out
RAISING ORANGES and ooh and aah over her adorable family, and the gorgeous crafts you see!
Oh, and in case you're wondering. I obviously did NOT use all that vinyl on this bag...a yard and a half is going to last me a LONG time! ;)


